Poser 6
IBL Lighting
I recently created an image in Vue 5 using GI Lighting and was asked if it was done in Poser 6, so I thought I would try and duplicate the lighting, as much as possible, since I don't claim to be anything but a hobbyist in this field.
I am writing this tutorial, to show you the steps I followed, in the hope it may help hobbyists such as myself who are always looking for tutorials on how they created an image.
This is how the image looks in Vue 5 - posted in my Renderosity Gallery
Click for full size view please.
Okay - let's begin.
I first opened my pz3 image in Poser 6. I need a background prop so I used my own, which is just a plane that I can add a material to and I use it a lot - if you'd like to use it, I have made it a Poser Prop which you can download HERE.
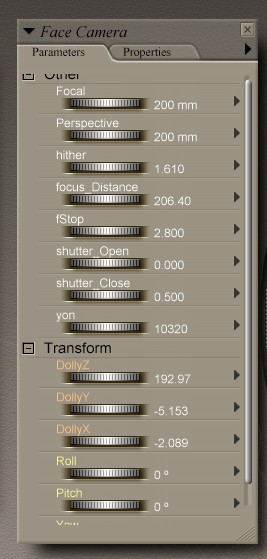
Now is the time to add your character, clothe her, give her/him some hair and a pose then set the camera. I'll give you my camera settings but they are simply a guide.
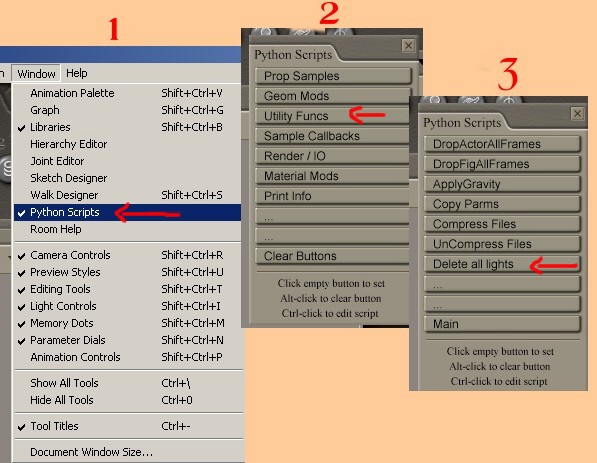
Next we need to delete the lights -
In previous Poser versions, this could become quite a job especially if you had
a lot of lights. In this case we have just three but we can delete all
three at once with Python Script!
All you need do is go into Window/Utility Funcs/Delete all lights!
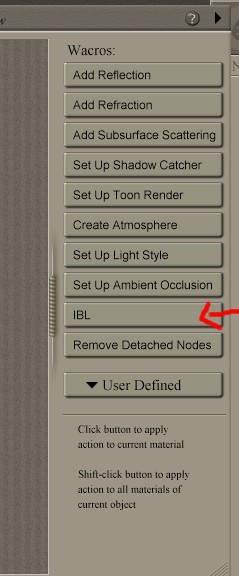
Now our work area is quite darkened but we are soon going to fix that! Add ONE light and with Light selected, go into Materials and click on the right hand side, where it say IBL (Image Based Lighting)
Poser 6 will now take you into the Texture Manager and ask you for the Image Map
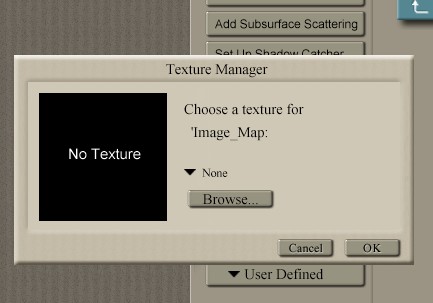
Browse on your hard drive to the image map you wish to use - it's best to stick with an image that is lighter on the top with darker colour at the bottom. I chose a bright sky for my image which I downloaded from ImageAfter If you wish to use the same one, the url is Dutch Background
When you have selected the image, Poser will ask
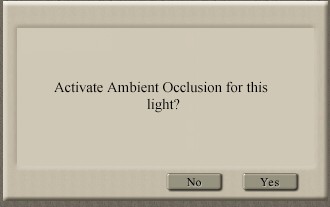
Choose Yes.
We are however, not quite done with the Material Room just yet. Not only do we want to add that background to the light, we also want to add it to our prop background wall. Select the Back Wall in your Props and make sure you arrow down to Floor
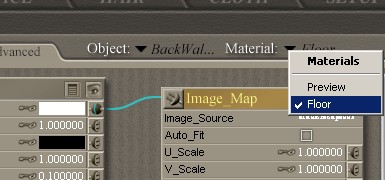
On the Image Map, click on the Image Source name to change it from the one that I included with the prop. You will get a menu like this:
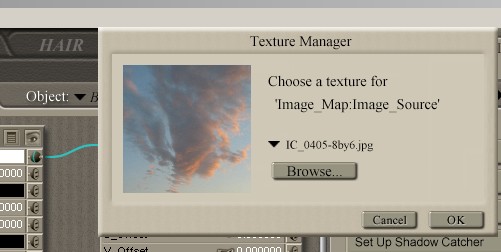
Use the little inverted arrow, to show you the other files - click on the same one you used for the Light - in this case, the Dutch background from ImageAfter. Then click OK.
Now we can go back into the Pose Room.
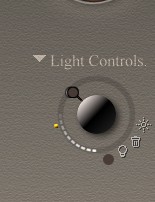
Here are my settings for Light One:
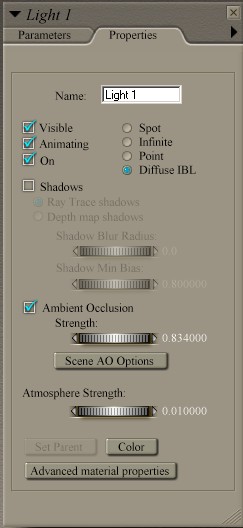
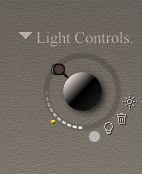
We will go into the Scene AO Options in a moment but first, I added another light, which I made a Point Light, and I centered it in front of my model, about face level using the Top Camera and the Translate/Pull Tool with my mouse. In the Properties Panel for the Point Light, I checked Shadows - Ray Trace Shadows.
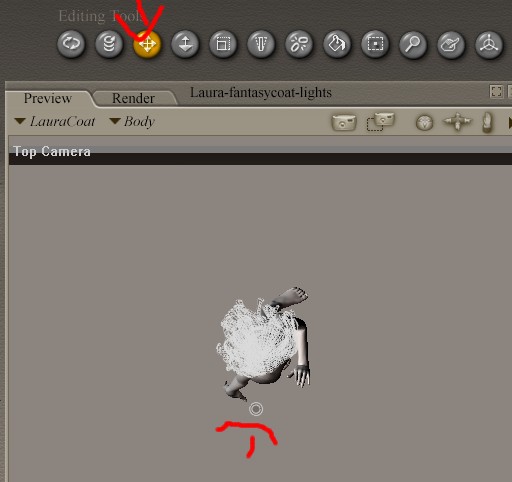
Keep the intensity of the point light very low - if need be, you can adjust it later.
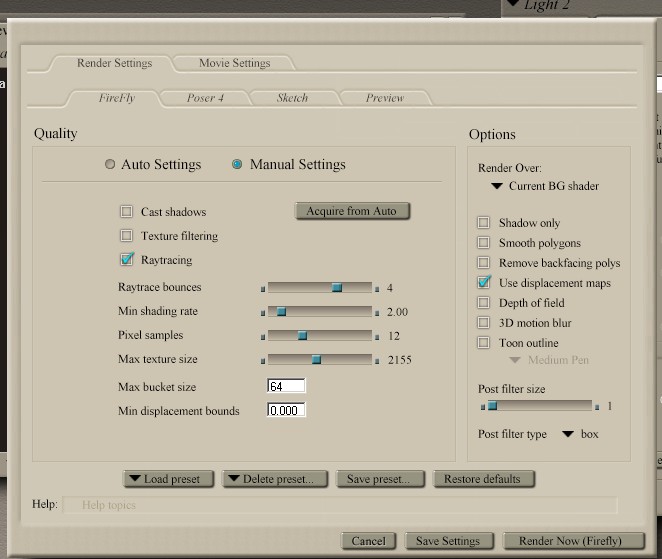
My Render Settings:
I had a problem with little black specks in my rendered image so I asked in the Poser 6 RDNA Forum for help, which I quickly received from both Eric and Oliver (a Big Thanks Guys!) who told me to go into the Scene AO Options for Light One. This is my final settings for that:
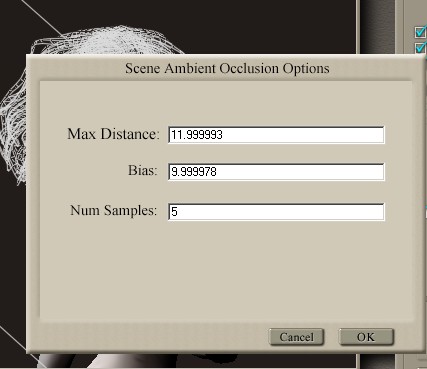
You can reach this menu by clicking on AO Options in the Light One Properties Panel.
A final render and my image was done.
Hope this was of some help to you!
Have a great day and have fun!!
Irene
Visitors since April 23/05

