|
Created in PhotoImpact 6 If you would like to use these angel images, you will find them here in zip file as objects. You may also download a png zip here. The sky background is in PI Natural Textures, Cloud3. If you would like to use the ready to use the globe, please download the zip for it here Ready to begin! Okay, first off, let's open a New Image, 400 x 400 pixels, true colour.
Open your
UFO file called 3angels.ufo -I know, I know - there's only 2 but we're
going to flip one and I wanted to make the file name relevant to my
tutorial Work now
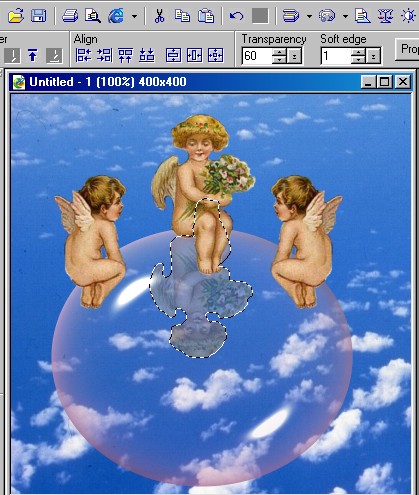
on the new cloud-filled image. We want to create a large bubble.
Using your Path Drawing Tool, draw an ellipse in 3D, Grey. When the
tabs drop down, first select Colour and choose Gradient - 2 colours, RGB,
R 255, G 200, B 255 and then R 255, 120, 199. You may also wish to
experiment and choose something different; I give you these only as
guidelines. We need now to define our bubble by making it transparent, so select Transparency on the Tab, and change the numbers to read Transparency 95 and Minimum 30. Select Border/Depth and change the numbers to 17 and 30. Select Shading Tab and change the numbers to 70 and 30, making sure Phong is checked. If you are satisfied with your bubble, deselect it by pressing with the Pick Tool outside the image. No we
need to place the angels on the bubble. Select the ufo image and
with the Pick Tool, click on and drag the larger angel to your bubble.
She will be too large but now we can resize her easily but first go to
Object in the menu above and select Follow the same procedure for the other angel and when you are happy with its placement, select Duplicate, then Edit/Rotate & Flip/Flip Horizontal. Place the other angel on the opposite side of the buble then Select both it and the other kneeling angel by holding down the Shift Key and selecting both. Go to Object/Align and align the two angels Vertically.
With the Standard Selection Too, choose Ellipse, Soft Edge 3 and begin from the top left hand side of the image and drag it down to the lower right so that the ellipse is centered.
When it looks right to you, Copy and Paste as a new image. It will
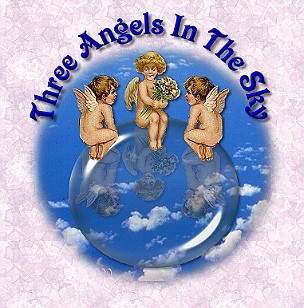
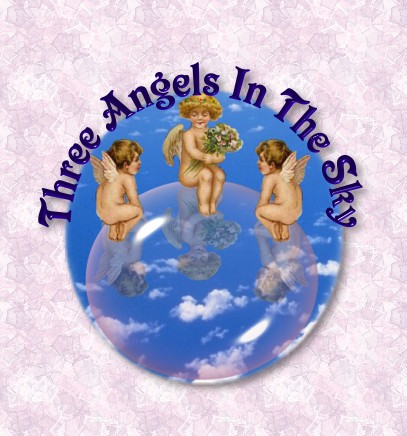
look similar to this: The image is a little large because we want to add words around it, so holding the Shift Key, select Resize Tool, then push on the right or left lower corner to resize to your liking. Now that we've finished our image, we need to give it a title. It may be necessary to move the image further down on the white background but when you have it where you like it, click on the background with your Pick Tool so it is no longer highlighted. Select the Text Tool, Victorian Font, Size 50, 2D Object, Colour R 24; G 8; B 102. You can give your image your own title or type Three Angels In The Sky. It will expand beyond your image but that will change because now you will select Object, then Wrap, then Bend - with the following settings.
Move the text so it is centered at the top of the image and draped equally on either side - or, use Align - Center Horizontally. Select the Text Tool again and change your text to 3D then select Object, convert Object Type, From Image to Path. Click on the Path Drawing Tool then click on the Light Icon in the Attributes Bar. Move your cursor over the text to change and highlight the colour. When you are satisfied, click the mouse button. Hold your shift key and select both the Text and the angels picture and Merge As a Single Object. Select the Resize Tool and then select Web, Trim Image, then Optimize your image as a transparent gif or as I have done, place it on a background, Select Shadow, First Box, X 5, Y 5, Soft Edge 5. Hope
you've enjoyed this tutorial and that your little Angels bring you Good
Luck!
This page
was finished on
|