| Let's
begin by first clicking on the image on the left, which will
open to a full-size version which you can then copy to your hard
drive. You may wish to use it for the purposes of this tutorial
or feel free to use your own.
Open Photo Impact and open a new file, white background, 400 x
400. You may wish to use the Ruler which is under View/Ruler.
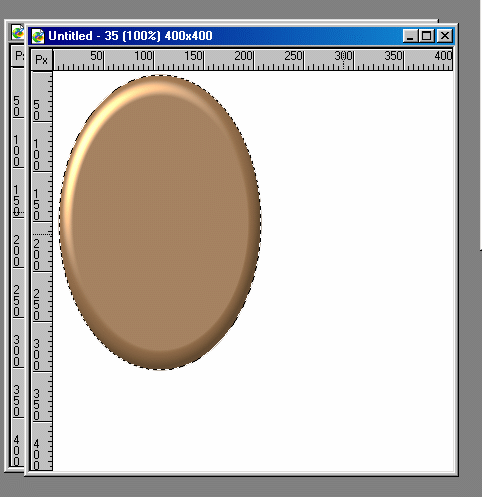
With
the Path Drawing Tool, 3D, Ellipse, draw an oval approx.
200 x 300. Select Material from the Easy Pallette and
choose Metallic. Select Reflections and choose Chrome1.
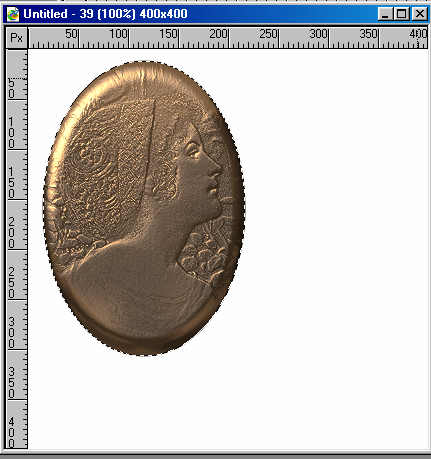
Go to
Materials on the Toolbar and select the Bump Tab. Select File,
and browse to the folder where you saved the woman16.jpg image.
Select the image and change the density to 100% then click OK.
So now
we've created our image  let's move on to why you're here!
Put
your lady aside for a moment and open a new file 200 x 200,
Black background or any other dark colour. Select the Path
Drawing Tool and go to the Easy Pallette and select
Plastic/Remove Material then select the Outline Drawing Tool, 3D
Chisel, Width 4, and in the Materials in EP, select Colour/Cream.
Duplicate the ring twice and place the three rings together like
the image on the left. Use Object/Align Vertical.
Save
as a ufo in your own stamps folder.
Now is
when you have some fun! Return to your oval image and
center it on the background and keep it selected. Choose
the Stamp Tool then choose the Stamp Menu on the Attributes Bar
and select Add Stamp. Browse to where you have saved your
ufo file and select it. The ring image should appear as a
thumbnail.
|