|

I
recently saw this tutorial
for PSP and loved it. I asked the creator of the tutorial,
Jane Braz, if she would mind if I converted it and she has
gracefully given me
permission. Thanks Jane!
What
You Need
-
Arch
Tube or
-
Arch
PSD File
-
Blue
Glass Tile
-
Moonlight
Oval
I
have included everything in a zip file which you can find HERE
 |
Open
either the arch tube or psd file. You may either work from
these or create your own. If you would like to change from wood
to another type of material, now is the time to do so! 
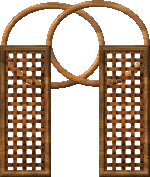
Ensure that there is enough space in the middle of the two
columns so you will have a sufficiently large arch (the picture
at the top shows a relatively small opening - if I were to
create it again, I would enlarge the opening. |
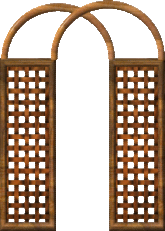 |
If
you are using the arch psd tube, ungroup the ovals from the
columns, then selecting the ovals, merge as a single object.
Bring them to the front using the Pick Tool, then select the
Object Paint Eraser Tool and remove the bottom part of the
ovals, from where they join the columns. |
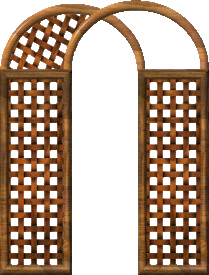 |
Select
the weave portion from within the column (you may have to
ungroup from the border) and Duplicate it. Using the
Transform Tool, rotate the weave so that it fits within the left
arch, then using the Object Paint Eraser Tool, remove the top
and bottom and anything protruding from the sides, so that it
looks like the picture opposite.
While
the arch is still selected, duplicate it and
Edit/Rotate/Flip/Horizontal and place it on the right side of
the arch, Send both panels to the back.
|
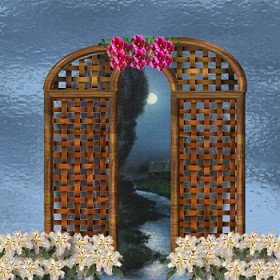 |
Now
we're ready to create our image! Open a new file 500 x
500. Use Edit/Fill, and locate your blueglass-ic.jpg and
select fill the image, not tile.. Open the Oval Moonlight
Picture or any picture you wish and place it where you want it,
then move the arch in front of it. For the top picture I
used tube flowers as well as leaves and for the vine, I used a
path object. Let's decorate with stamps.....For this picture on
the left, I used stamps from the Ulead Collection. To finish the
project, I then selected various parts of the arbour or arch
then Effect/Magic/Light on the left side of the arch.
Hope
you've enjoyed the tutorial!
|
Tutorial
Created November 22, 2000
|