|
A
SIMPLE ENGRAVING

You
may have a picture you are just not sure what to do with - here's a
possible solution. If you don't have such a picture, please feel
free to use mine for the purposes of this tutorial. These are very basic
techniques but to the person who just might be learning all the
wonderful creations that are available to them with Photo Impact,
perhaps this one will get you started.
To
see images full-size, just click on the thumbnail. 


|
If
you would like to use the image shown here, please copy
it to your hard drive.
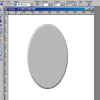
Open Photo Impact and open a new file, white background,
500 x 500. I also make use of the Ruler which
you will find under View/Ruler
With
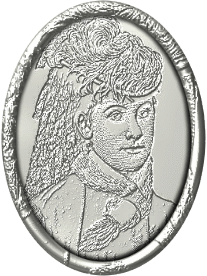
the Path Drawing Tool, 3D, grey, Ellipse,Border 9,
draw a large oval.
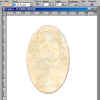
Go
to Easy Pallette, Materials, Realistic, Marble2 and
select it by double-clicking. Now go to the
Materials Icon on the Tool Bar and select the tab marked
Bump. Browse your hard drive until you find where
you saved the picture above which is entitled
tutorialface1.jpg. When you find it, select it,
and then change the density to 100% and press OK. Your
picture should now be in the marble oval.
While
the oval image is still highlighted, select the Path
Drawing Tool, then right click on the image to select it and choose Duplicate. Change from 3D
Round to 3D Pipe and reduce the border to about 10 or
less. You should now have a frame around
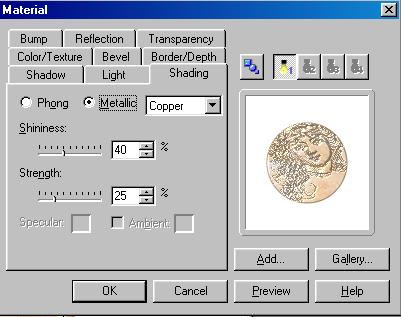
your oval. With the frame still selected, go to
Materials on the Tool Bar and select the tab called
Shading. Change from Phong to Metallic and choose
the settings shown below. For this tutorial, I
also changed the picture oval to metallic settings
below. You may choose to have the picture phong and the
frame metallic
|
|
 |
With
the Pick Tool, Select the picture oval (if you are not sure
which one is selected, go to the Easy Pallette and click on
Layer Manager (3rd icon from the left at the top).
Now
select PaintBrush Tool, and change the settings on the Tool
Panel to Brush round, Size 30, Colour Black, Soft Edge 50 then
go to Effects and choose Paint On Edges. This gives you a
border around your picture.
For
this tutorial, I darkened the frame by selecting Material,
Light, and bringing the Ambient down to 30.
|
| |
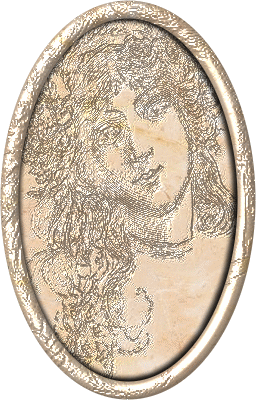
That's
about all there is to it but you can see that this gives you
endless possibilities using different materials  Hope you've enjoyed this tutorial!

Here's
another one, using Silver4 as the Material 
|
|
