|
PI
Tapestry Tutorial
Created in Photo Impact 6
Here's a really easy way to create tapestry. For this tutorial, I
am using a 640 x 480 digital photo that I took of my cat, Mr.
Muff. If you wish to follow along, please click on the thumbnail
image and save the full size image to your hard drive.
 |
He really is a cute fella, isn't he? |
Open Muff's picture and then go to
Effects/Creative/Creative Warp.
Select icon 14, then 4, then 6. Your image
should now look like this:
Go to Format/Dimensions and uncheck keep aspect ratio. Size
the image to 100 x 100. Go to Effects/Blur & Sharpen/Sharpen -
click on first image.
Copy your image to the clipboard.
Open a new image 600 x 600 white.
Edit/Fill/Image/Clipboard/Tile.
Choose Selection/All/Selection again/Border.
Border Width:40
Direction: Both
Shape: Box - click OK
Now go to Edit/Fill/Colour/Black - click OK
Web/Button Designer/Any Shape
Light Angle:65
Bevel: Choose Icon from Bevel Tab. I chose 3rd from left in last
row.
Bevel Size: 22
Bevel Smoothness 2 Check Pressed
Light Elevation: 33
Right Click on the Border and select Shadow. Select the 5th one or
the 2nd in from right. Set the Transparency to 15 and the Shadow
Size to 96. Click OK
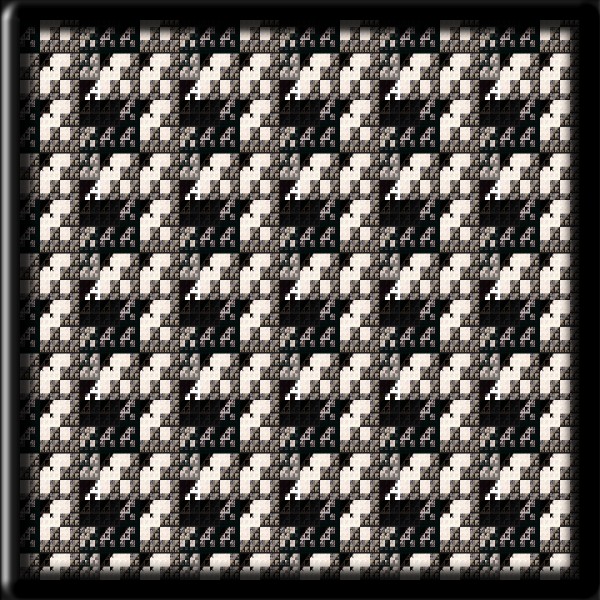
That's all there is to it  Your tapesty will vary according to the image you choose.
January 8/02

|