|
GRANDFATHER'S
CLOCK
page two

|
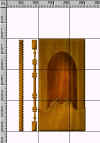
Move
your bottom front image to your main images and set it in front.
You will need to resize it with the Transform/Resize tool.
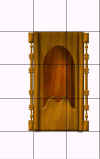
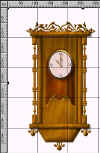
It should look like this when you are finished.
Draw a
rectangle, the same length as your dowelling and watch casing,
3D, and increase the border as far as you can, usually about 9.
Duplicate
the rectangle and place one on each side of the casing. Place
the dowelling beside the rectangle - duplicate it and paste on
the other side. It's up to you but I added shadows on both
the rectangles - for the left one, I used the first box,
changing the the top 2 settings to 4, 4 and Soft Edge to 4.
On the right rectangle, I selected the 2nd box, with the same
settings.
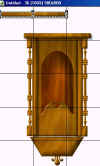
Draw a
rectangle to go across the bottom of the clock. Duplicate the
rectangle and place it on the top of the casing.
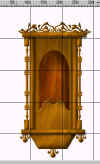
Select
Text, DecoDividers, select I, J, or K, or one you would like to
use. I chose K, size 70, use the wood material and 3D and
don't forget to change it from text to object  Add two Fluerons, Q, size 70 and place them at each corner.
|


|
Now
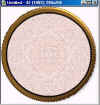
we need to make the clock face. I opened a new image and created
a 3D circle, Gold5, Border 9. Then I created another
smaller circle, only 2D, using Easy Pallette Material
Gallery/Texture/Magic Pattern. Then with paintbrush set at
10, black, Select Effect/Paint On Edges. Group the two circles
and Right-click/align/center both.
Using
Times Roman as your font, and using Roman Numerals, Black, Size
30, place the XII, III, VI, and IX around the clock face. It's a
good idea to make use of the gridlines plus the ruler to get
them exact. Use the Transform Tool/Rotate 90 counter
clockwise on the IX and 90 clockwise on the III.
Using
Path Drawing Tool, Custom Shape, select Arrow 6, Gold5.
It will look too large but we will resize it, making it longer
and thinner. Then resize by placing the mouse on the
corner and pulling up to the desired size. Place the clock
hand on the face, duplicate and make the small clock hand using
the resize tool again. Create a circle, 3D, Gold 5, Border
6, and place the circle over the hands.
Select
the two hands, and all the numbers and Merge as a single object.
Use Shadow, the same settings as before.
Group
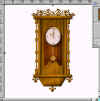
the entire clock face and drag it over to the clock. It is
far too large so use the Transform/Resize until you think it
fits nicely in the clock
|
|
|
Now
for the pendulum!. (No pits here...I know..bad joke!)
Draw a rectangle, 3D, Gold5 and put a circle at the end of it
and flatten it somewhat. Group them together and put them
on the clock...Resize until you are comfortable with it.
I
discovered here, as I am creating this along with you, that the
facing is too high so I will resize it since we want to show our
pendulum. This means of course that I have to ungroup
everything but, after doing so, I can just use the Easy Pallette
and quickly select the facing. Resize it being careful not
to change the shape of it. When you're done, you should
regroup everything EXCEPT the pendulum.
Now,
on to the animation!
|
|
|
If
you wish to resize your image, now would be a good time to do so
and also, let's trim it as there's a lot of blank space.
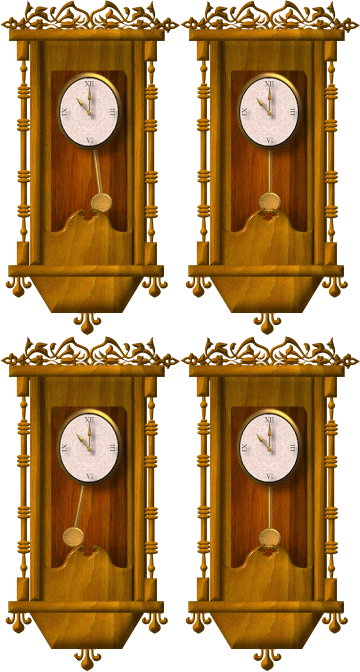
I've resized mine, then I resized the pendulum and now deselect
everything and Control-D, to create copies. We will make 3
- one with the pendulum down, one with the pendulum swinging
left and one with the pendulum swinging right. At last,
the finished clock!! Time to quit 
but hope you've enjoyed this tutorial. |
Back
Next
|